







Make Your Own Hydrangea Wreath
- Saturday, 10 October 2026 08:18
- Last Updated: Saturday, 10 October 2026 08:45
- Published: Saturday, 10 October 2026 08:18
- Marishal Gupta
- Hits: 69
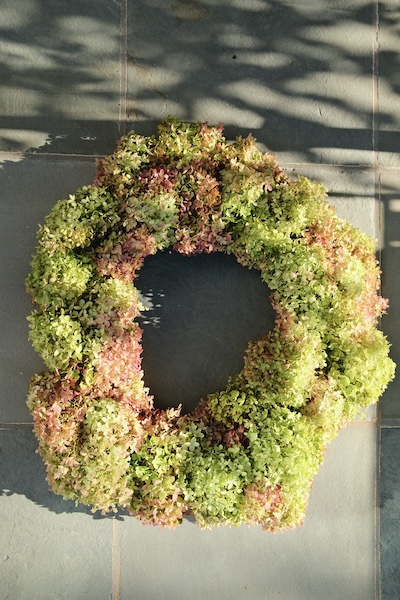 The hydrangeas fading to green and antique rose in your front yard are not spent. For a dried wreath, they are finally ready.
A dried hydrangea wreath takes about an hour to make and the only thing you have to buy is the grapevine form. You are close to the last good chance to cut the blooms, so set aside a free afternoon in the next week or two. It’s a fun activity for kids to help with, and the autumnal tones will carry you from pumpkins to Thanksgiving.
If you don't have hydrangeas in your garden, ask a friend or neighbor who does — most people are glad to have the heads taken off their hands this time of year.
When to cut, and what to look for
Hydrangeas typically bloom in Scarsdale (Zone 7a) from May until September, so by the first weeks of October, the heads have faded and begun to dry on the shrub, which is exactly the right state for this project. You don't want a bloom at its peak, as it is full of water and will wilt and shrivel up within a day.
Judge by touch. Take a floret between your fingers. If it feels slick or faintly rubbery, leave it another week. If it feels more like tissue paper, cut.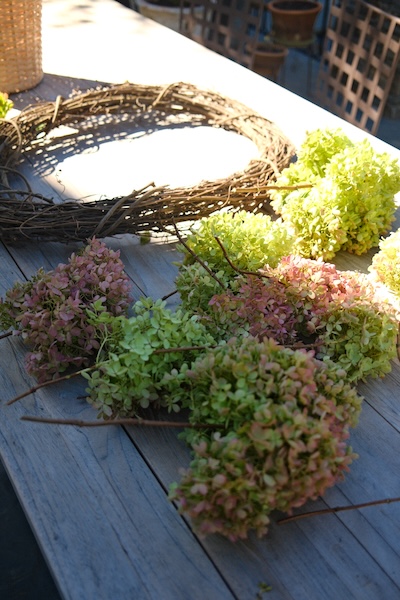
Avoid any blooms that are already brown on the shrub, and do not use hydrangeas that have already been cut and dried, as they will shatter at a touch and the stems won't be pliable enough to slide into the wreath.
Nearly every common variety dries well, so use what is available to you. Bigleaf mopheads and panicle types such as Limelight all hold their shape, and
Oakleaf hydrangeas dry to a deep rust. Smooth hydrangeas like Annabelle are a particular favorite for wreaths: the enormous white heads fade to a soft buff and keep their volume.
Materials
-A grapevine wreath form, easily available online for about eight dollars. Eighteen inches is a standard front-door size; twelve to fourteen suits a wall or a mantel.
-A pair of clean, sharp snips.
-Approximately thirty hydrangea blooms.
-A basket to harvest into (optional).
-Zip ties (optional).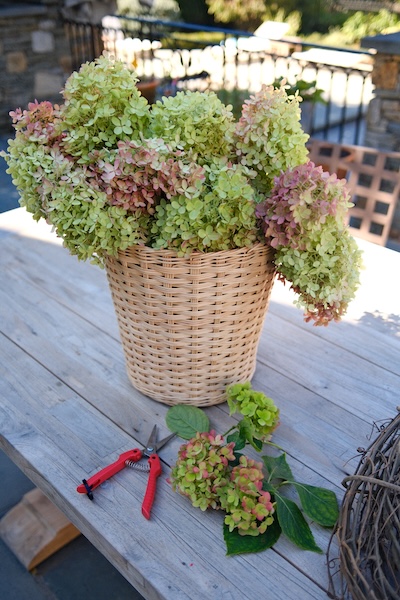 The Method
Cut each stem on the diagonal, twelve to fourteen inches below the bloom. The extra length makes the blooms easier to carry and gives you room to trim later. If you grow mopheads or lacecaps, let the buds decide where you cut instead: they bloom on old wood, next summer's buds have already formed along the stems, and your cut belongs just above them. Leave a fair number of heads on the shrub too, since the spent flowers shelter those buds through the winter.
Gather about thirty heads in a mix of sizes. The range is what lets you build a dense, even wreath. If using a smaller wreath form, you can start with fewer and cut more as needed.
Strip the leaves from every stem.
Trim each stem four to five inches below the bloom. That is the length that slides into the grapevine and anchors the head as it dries and shrinks.
Push each stem into the grapevine so the bloom sits directly against the form rather than floating above it. The twists of the vine do the holding. Place each stem in the same direction for a fuller look. It is sometimes easier to aim the stem against the direction the vine is woven, as it creates a bit of tension. The heaviest heads are the ones most likely to work loose; if one will not stay put, run a zip tie around its stem and a piece of the vine and trim the tail close.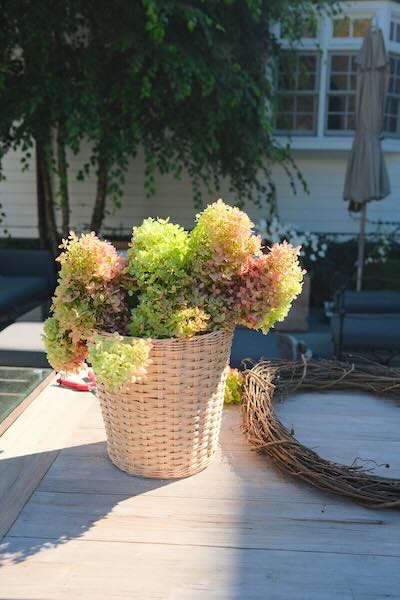
Set the large blooms first, working until the form is encircled. Adding one stem on one side and the next on the opposite side keeps the weight balanced as you go.
Use the medium and small blooms to fill in any gaps, taking care to cover the inner and outer edges of the wreath, not just the face, as they will be visible once the wreath is hanging.
A few notes and tips
Expect it to tighten, and plan for gaps. As the blooms dry they lose volume, and spaces may appear that were not there on assembly day. If this happens, you can slide in a few additional small heads once the wreath has settled.
Let it dry undisturbed. The wreath finishes drying on the form over the following week or two. Handling it while the stems are still shrinking loosens blooms that would otherwise have set.
Hang it out of the sun and weather. A covered porch is ideal. Full afternoon sun will bleach the color within a month, and a heavy rain will reduce the blooms to pulp.
You do not have to cover the whole form. A partly filled wreath — blooms across the top and down one side, bare grapevine showing below — looks deliberate rather than unfinished, and it is the right answer for a young shrub that cannot spare thirty heads. A few sprigs of foliage will soften the transition.
Outdoors under cover, expect a single season. Kept indoors, however, one of these wreaths will last for years rather than months. The color continues to soften over time, settling into the faded palette of an old quilt, and a wreath that has thinned can be revived each fall by pushing a few fresh heads into the gaps.
Imperfections are part of the charm. A first attempt is almost always a little lopsided. Have fun with it! There will always be more blooms next year.